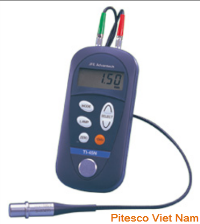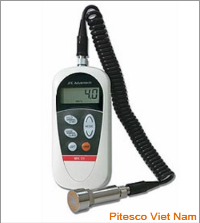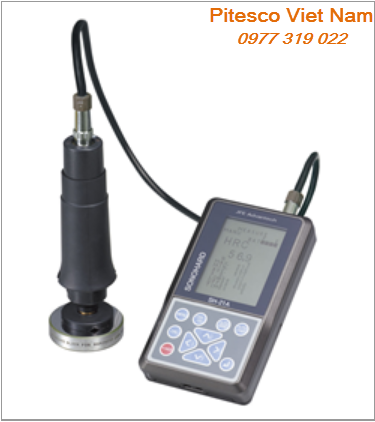
SH-21A Ultrasonic hardness tester SONOHARD
Xuất sứ: Japan
Nhà cung cấp: Pitesco
Hãng sản xuất: JFE ADVANTECH
SH-21A,
The SH-21A is very easy to use and requires no special knowledge of hardness testing in order to operate the instrument. The unit includes all four hardness scales and you can switch between them at the touch of a button.
Applications
- Evaluation of carburizing, standard quenching and high-frequency quenching
- Weld hardness measurement for welded structures (tanks, hulls, bridges, steel towers ,etc.)
- Hardness measurement for a gear tooth flank (narrow area)
- Measurement of structural strength or hardness of a facility
- 100% online inspection for components (engine valves, rack bars, crankshafts, bearings, etc.)
Specifications
|
Measuring Indenter |
Diamond indenter for Micro-Vickers (facing-to-surface angle of 136 deg) |
|
Measuring load |
Approx 1kgf (roughly 10N) |
|
Measuring range |
Rockwell hardness: 10.0 HRC to 70.0 HRC |
|
Reproducibility |
HRC:± 1.0HRC , HV : ± (3%rdg)HV , HS: ± 1.0HS , HBW : ± (3%rdg)HBW |
|
Power source |
AC adapter (100 to 240V) or lithium ion rechargeable battery |
|
Minimum target size |
15 mm (width) x 15 mm (length) x 7 mm (thickness) |
Measuring Stand (option)
When mounted on the measuring stand, the tester can be used as a stationary hardness tester.
This compact, lightweight checker (2.5kg) can be carried around on-site.
Measurement Principle
The Ultrasonic hardness tester model SH-21A differs completely from traditional hardness testers. Instead of measuring the size of the indentation of the test sample using a microscope, it uses a diamond indenter equipped with a vibrating rod that presses on the test surface at a fixed load and then measures its hardness by applying ultrasonic vibrations and analyzing its damping effect. When the vibration rod is applied to a soft-surfaced test sample with identical qualities and at a fixed force, it makes a deep indentation and gets locked into the groove. Due to this, the resonance frequency increases. Conversely, it does not get locked in when used on hard test samples and the resonance frequency drops. The test sample's hardness can be calculated using the correlation between this deviation and the tested hardness.


 Mr. Trí