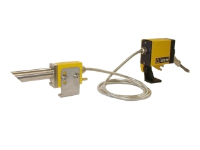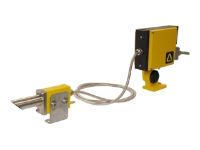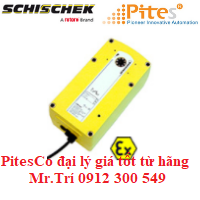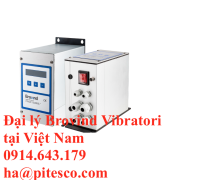
Infrared Loop Scanner
Rota-Sonde TS5500
- Visible Laser Line for easy alignment
- Wide Infrared spectrum
- Innovative display on back panel
- Configurable sensor
Features
The Rota-Sonde TS5500 measures the position of a hot product (steel, copper, brass, other alloys) within its field of view and provides an output which is proportional to the angular position of the product within that field.
The Rota-Sonde TS5500 is a scanning measuring sensor, sensitive to infrared radiation emitted by hot products with a minimum temperature as low as 250 °C (480 °F).
Main features & benefits:
- Quick & Easy commissioning with green laser line (TS55xx-LL) or red laser pointer (TS55xx-LP).
- Control panel with display of position of hot product (% of scanning angle) & led bargraph for Signal level & Threshold setup.
- Sensor configurable by user (TS559x-xx): scanning angle, sensitivity range, output value in product absence.
- 2 analogue outputs (4-20 mA and 0-10 V) and 1 digital output (product presence).
- High sensitivity: from 350 °C (660 °F) or from 250 °C (480 °F), selectable by user.
- No need of shutter adjustment (4 mm fixed shutter) thanks to a better photocell dynamic.
- Self-diagnostic functions: 2 digital outputs Control and Alarm.
- Optoelectronic circuit enclosed in a heavy duty housing (IP66), designed to work in the harsh environment of the steel industry.
- Air purging and water cooling.
- Connector and cable with metallic protective braid.
Applications
 |
|
Vertical & Horizontal loop control
The main purpose of loop scanner is to give the position of the product between 2 stands in order to control their speed.
 |
 |
Hot strip, plate, slab centring - Slab edges control for torch machine
Edge position feedback allows centreline & width measurement.
Operating principle
The Rota-Sonde TS5500 is sensitive to infrared radiation and is optimized for detection even at low temperature and in the presence of steam. The sensor detects the first edge of the product within the scanned field, i.e. the first transition “no radiation / presence of radiation”, direction of scanning being from the top to the bottom of sensor.
When the analytical beam of the sensor detects infrared radiation from the leading edge of a hot product within the scanned field, the reflection of that radiation by the mirrored drum onto the measuring cell provides a signal which is converted into a "measuring" pulse.
In addition, the sensor generates a reference pulse, which corresponds to the beginning of the scanned field.
The time between the reference pulse and the measuring pulse is equivalent to the angle between the beginning of the scanned field and the position of the leading edge of the hot product. The sensor converts the time into an analogue output, which is proportional to the angle.

Construction
|
Mechanical Features
Control panel beneath flip cover
|
|
Alignment
|
In order to help the user to make an accurate alignment of the
Toggle joint |
|
Optics
According to the required field of detection for the application, the vertical scanning angle has to be selected:
- TS559x: easy and quick selection of 10° or 30° or 50° on the control panel
- TS555x: this version has a fix 50° scanning angle
- TS553x: this version has a fix 30° scanning angle.

Accessories
- Heat Shield to protect sensor from direct radiation.

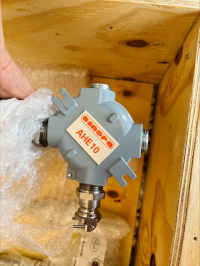
- Junction box CR5500TS for remote settings and diagnostics.


 Ms. Trinh
 trinh trinh


